A leaking bathroom sink can be annoying, and worse cause water damage, but you can often fix it yourself with basic tools and instructions. If the issue seems serious or you’re unsure, contact a professional like R & S Plumbing
Do you have damage to your home that needs to be cleaned up?

Before fixing a bathroom sink leak or a kitchen sink leaking, it helps to know the main sources: the faucet, drain pipe, and basin.
Faucet leaks come from worn out O-rings, washers, or sink cartridges.
Drain pipe leaks are usually due to joints or cracks.
Sink basin leaks come from a worn out seal or putty around the drain.
Accurately determining the type of leak present is essential for effective repair. The following guidance outlines key indicators for each scenario:
Faucet Leaks: Persistent dripping when the faucet is turned off, or water seeping from the base while in use, typically signifies this issue.
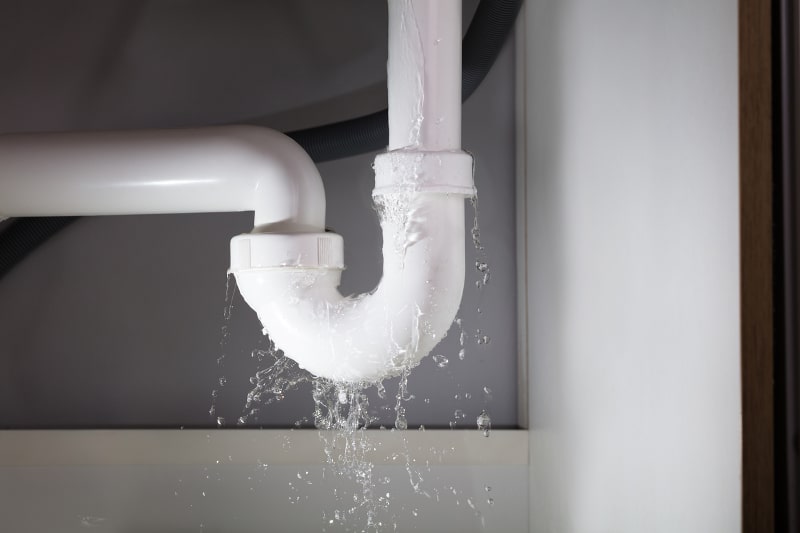
Drain Pipe Leaks: The presence of water puddles inside the cabinet beneath the sink, as well as wet stains or discoloration on the piping, are common indicators of a drain pipe leak.
Sink Basin Leaks: Leakage originating directly below the sink basin, often resulting in water pooling on the floor, suggests a sink basin leak.
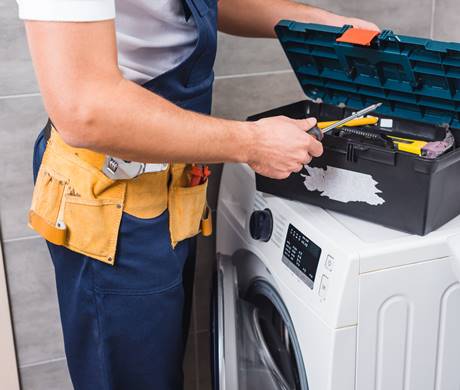
Once you have identified the location and cause of the leak, you will need to decide whether to handle the issue on your own or reach out to a professional plumber, such as R & S Plumbing in metro Detroit. Here are some guidelines to help you if you opt to fix the problem yourself.
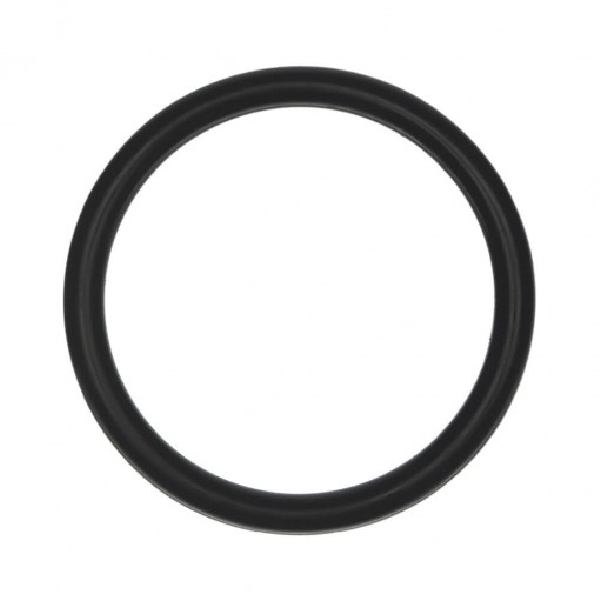
The O-ring, a small disc attached to the stem screw, helps ensure the faucet handle moves smoothly. If the O-ring is damaged or loose, it may cause leakage around the faucet handle. To replace the O-ring, please follow these steps steps:
Turn Off the Water Supply
Remove the Faucet Handle: Gently take off the decorative cap from the faucet handle. With a suitable tool, like a Phillips head screwdriver, unscrew the handle by turning the screw counterclockwise.
Remove the Stem: After detaching the handle, find the nut that secures the stem. Use a wrench to turn the nut counterclockwise to loosen and remove the stem.
Replace the O-Ring: Remove the old O-ring and replace it with a new one, making sure it meets the specifications for your faucet model.
Reassemble the Faucet: Reinstall the stem and handle by reversing the disassembly procedure. Restore the water supply and verify that the faucet operates without leaks.
A cartridge faucet may develop leaks if the cartridge becomes damaged. The following steps outline the replacement process:
Turn Off the Water Supply: Begin by shutting off the water supply valves located beneath the sink.
Remove the Faucet Handle: As with O-ring replacement, carefully remove the decorative cap on the handle and unscrew the handle itself.
Remove the Retaining Nut: The cartridge is situated below a retaining nut. Using an adjustable wrench, loosen this nut by turning it counterclockwise.
Extract the Cartridge: After removing the retaining nut, gently pull out the cartridge. If necessary, use pliers for assistance, taking care not to damage surrounding components.
Install the New Cartridge: Place the new cartridge into the faucet assembly; it should fit without resistance.
Reassemble the Faucet: Reattach the retaining nut and handle. Restore the water supply and verify that the leak has been resolved.
Leaky pipes can often be resolved by tightening connections or replacing the defective section. The following steps outline the process:
Identify the Leak: Begin by determining the exact source of leakage. Dry the pipe thoroughly with a towel, then run water through the sink and observe for any new droplets to pinpoint the leak.
Tighten Connections: If the leak is found at a joint, use a pipe wrench to carefully tighten the slip nuts in a clockwise direction. Avoid over-tightening, as this may damage the fittings or threads.
Test for Resolution: Run water through the sink once more to confirm whether the leak has been eliminated.
Replace the Pipe: If leaking persists, the pipe may be cracked or excessively worn. In such cases, replace the affected section with one that matches the required size and material. Typically, this involves unscrewing the old pipe and installing the new component securely.
A leak at the sink basin typically indicates that the seal surrounding the sink drain is compromised. Follow these steps to replace the seal:
Remove the Old Drain Flange: Using a pipe wrench, loosen and remove the nut located beneath the drain flange. Once the nut is detached, lift the flange out from the top of the sink.
Clean the Area: Thoroughly remove any residual plumber’s putty or sealant from around the sink opening.
Apply New Sealant: Shape plumber’s putty into a uniform rope and apply it evenly around the underside of the new drain flange.
Install the New Drain Flange: Insert the new drain flange into the sink hole, ensuring it sits securely on the putty.
Tighten from Underneath: Secure the nut from beneath the sink, tightening it until the flange is firmly set and excess putty is visible.
Remove Excess Putty: Carefully clean away any putty that has extruded around the flange.
Check Your Repiar: Run water into the sink and inspect for leaks to confirm a proper seal.
At R & S Plumbing, we’re more than just a plumbing company — we’re your local team committed to fast response, honest pricing, and lasting results. Whether it’s a small leak or a major sewer backup, you can count on us for reliable service 24/7.
Take action today! Schedule a drain cleaning service for $99*. A camera inspection is available for $175*. Most calls will qualify for this pricing
Water Heater Leaking? Not Getting Enough Hot Water? Save up to $250 on Water Heater Replacement